效果
模型训练
进官网可克隆yolov5:https://github.com/ultralytics/yolov5/tree/v6.2,这里选择6.2。数据集直接使用现成的:安全帽识别。
整个训练过程参考:炮哥带你学
需要注意的是这里是6.2,参考博客是5.0,过程会有一些不同,训练时报错直接百度即可。
最终需要的pt文件位于:runs/train/exp/weights下: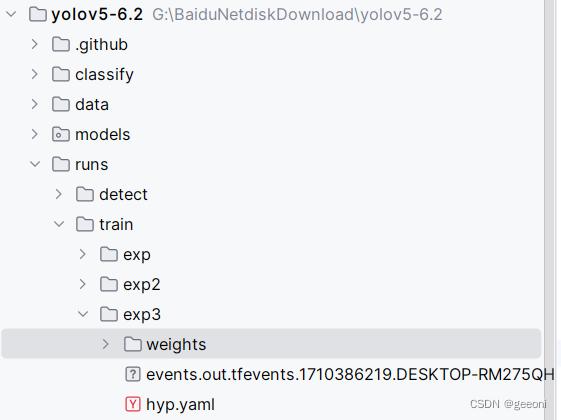
模型转换
docker环境搭建及启动、挂载文件参考上一篇博客:https://blog.csdn.net/m0_71523511/article/details/136546588
1、pt模型文件转onnx
①修改export.py文件:
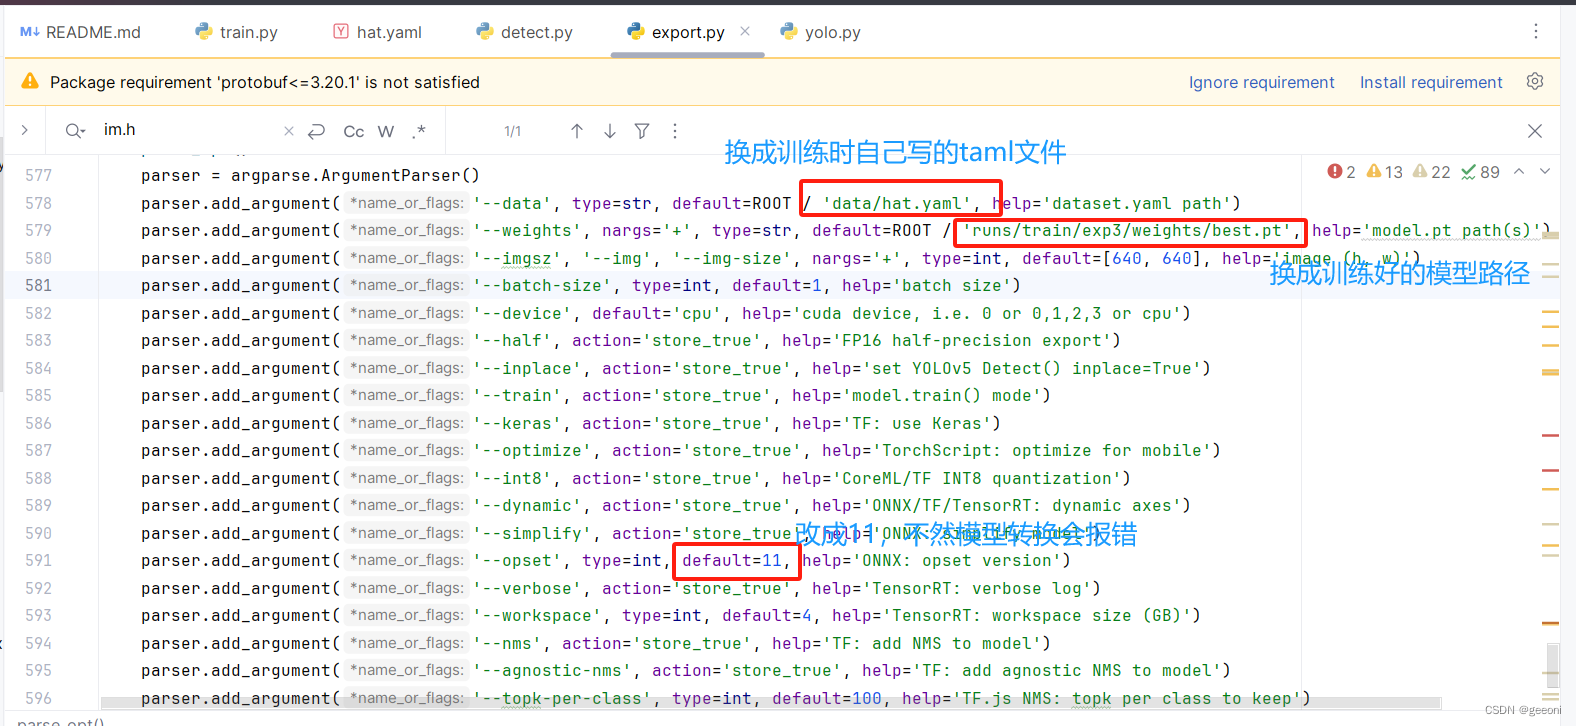
②导出onnx:
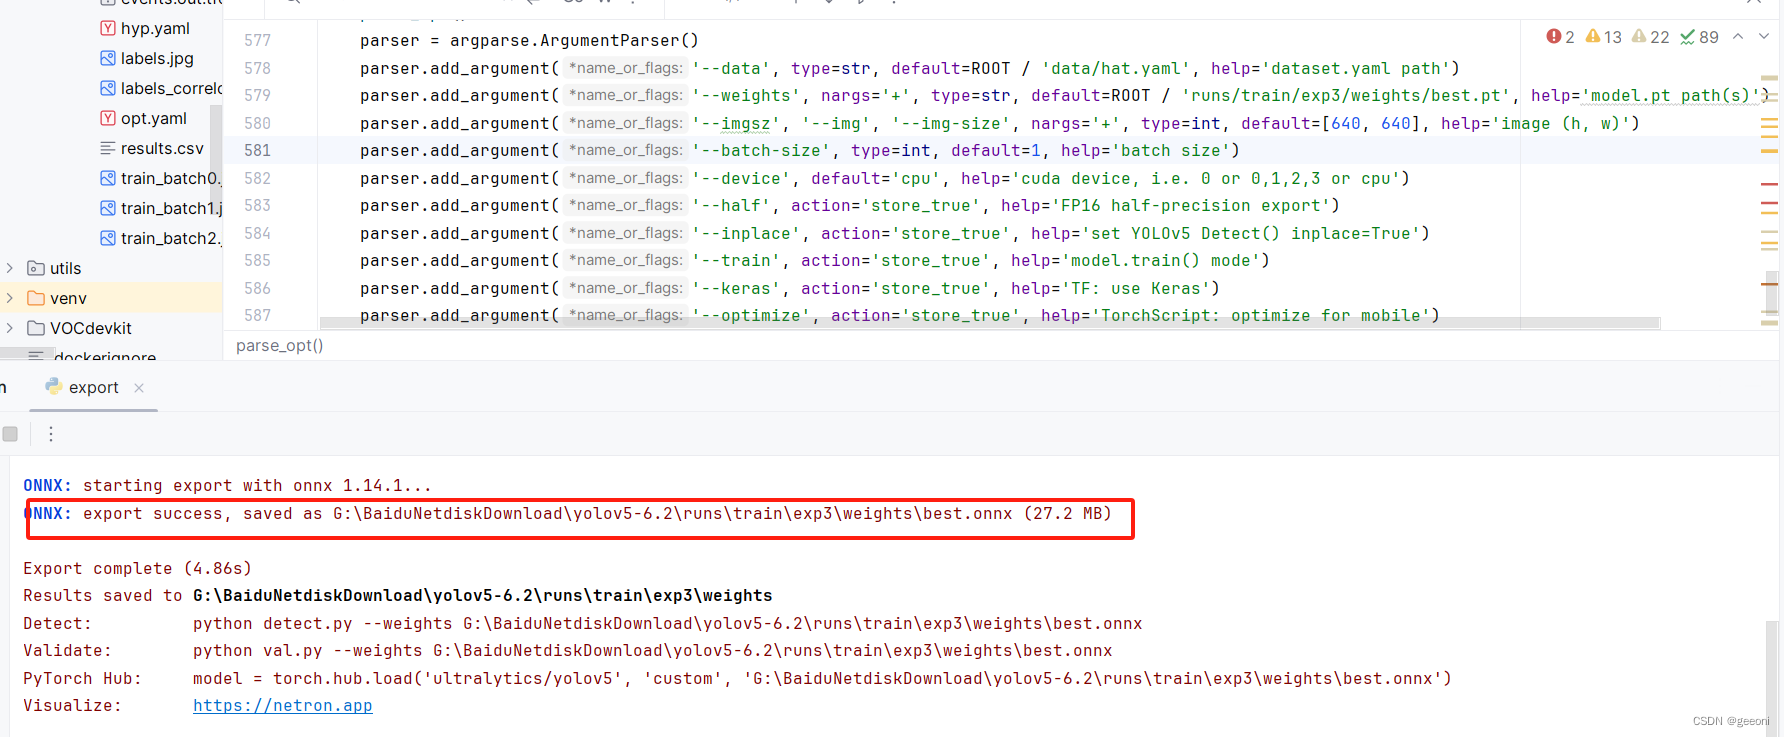
运行export.py文件:
2、检查onnx模型
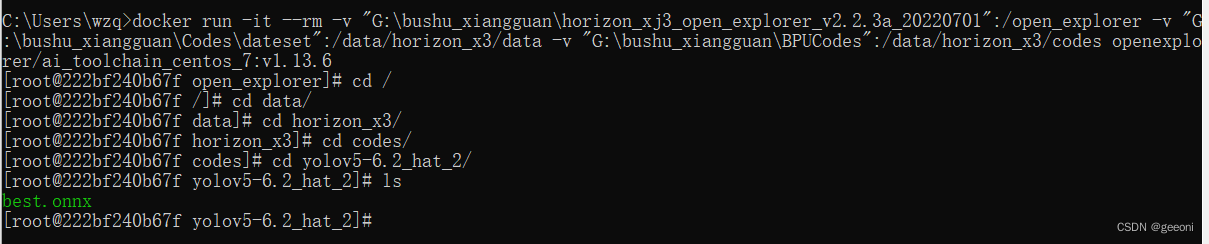
在挂载目录中的BPUCodes文件夹中新建文件夹yolov5-6.2_hat_2,将上一步得到的onnx模型复制一份进来。

打开docker桌面版,按下win+R进行命令符,在命令符中进入docker并将一些文件挂载进去,这里的命令是上一篇一样的:
docker run -it --rm -v "G:\bushu_xiangguan\horizon_xj3_open_explorer_v2.2.3a_20220701":/open_explorer -v "G:\bushu_xiangguan\Codes\dateset":/data/horizon_x3/data -v "G:\bushu_xiangguan\BPUCodes":/data/horizon_x3/codes openexplorer/ai_toolchain_centos_7:v1.13.6
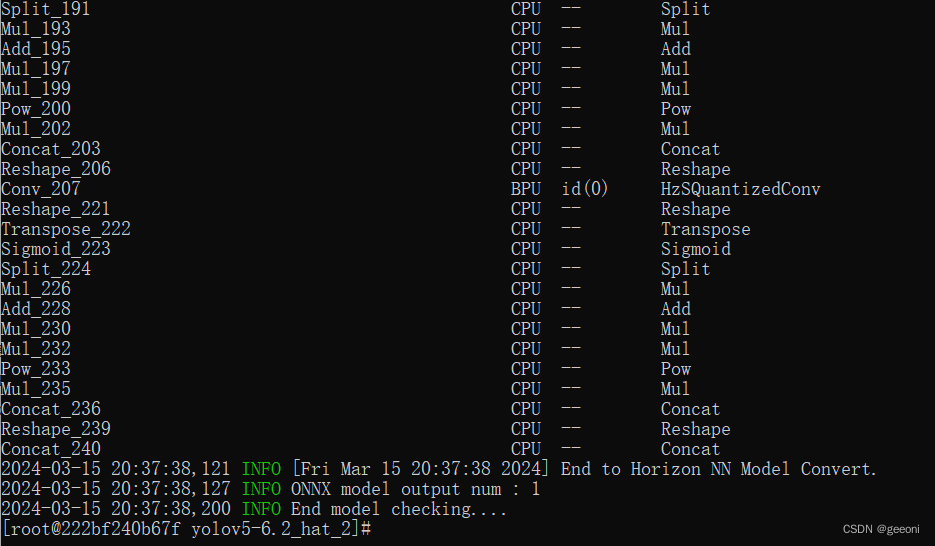
输入以下指令进行检查:
hb_mapper checker --model-type onnx --march bernoulli2 --model best.onnx
3、准备校准数据
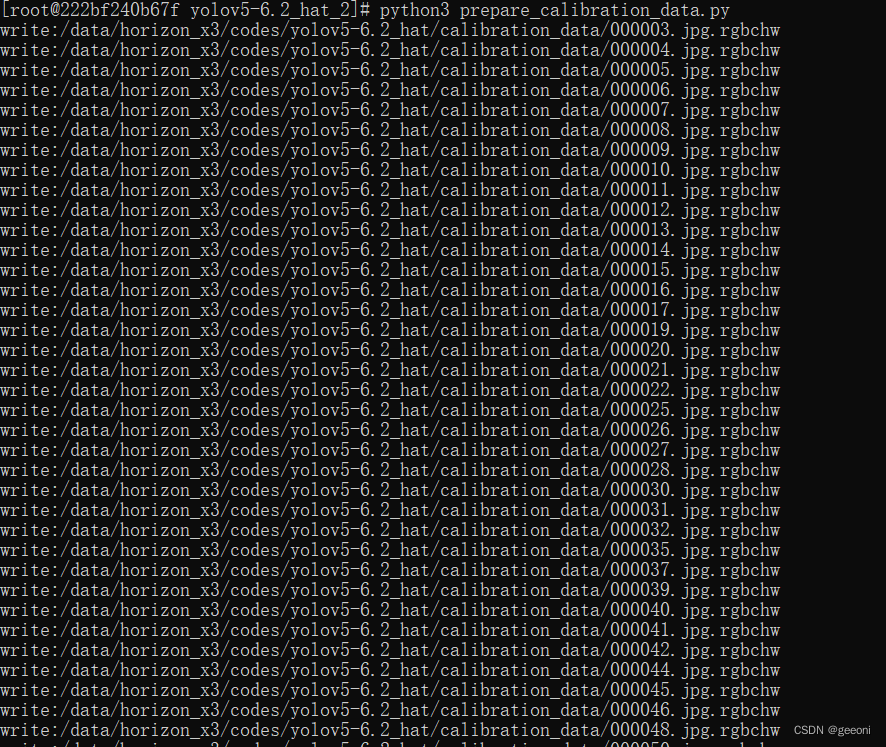
在yolov5-6.2_hat_2文件夹下新建prepare_calibration存放待校准数据,新建一个prepare_calibration_data.py文件,执行之后就可以在calibration_data下生成校准数据。
# prepare_calibration_data.py
import os
import cv2
import numpy as np

src_root = '/data/horizon_x3/codes/yolov5-6.2_hat_2/prepare_calibration'    #存放待校准图片的文件夹
cal_img_num = 100
dst_root = '/data/horizon_x3/codes/yolov5-6.2_hat_2/calibration_data'     #存放输出校准数据的文件夹


num_count = 0
img_names = []
for src_name in sorted(os.listdir(src_root)):
    if num_count > cal_img_num:
        break
    img_names.append(src_name)
    num_count += 1

if not os.path.exists(dst_root):
    os.system('mkdir {0}'.format(dst_root))


def imequalresize(img, target_size, pad_value=127.):
    target_w, target_h = target_size
    image_h, image_w = img.shape[:2]
    img_channel = 3 if len(img.shape) > 2 else 1

    scale = min(target_w * 1.0 / image_w, target_h * 1.0 / image_h)
    new_h, new_w = int(scale * image_h), int(scale * image_w)

    resize_image = cv2.resize(img, (new_w, new_h))

    pad_image = np.full(shape=[target_h, target_w, img_channel], fill_value=pad_value)

    dw, dh = (target_w - new_w) // 2, (target_h - new_h) // 2
    pad_image[dh:new_h + dh, dw:new_w + dw, :] = resize_image

    return pad_image

for each_imgname in img_names:
    img_path = os.path.join(src_root, each_imgname)

    img = cv2.imread(img_path)  # BRG, HWC
    img = cv2.cvtColor(img, cv2.COLOR_BGR2RGB)  # RGB, HWC
    img = imequalresize(img, (640, 640))      #训练时是多少就写多少
    img = np.transpose(img, (2, 0, 1))  # RGB, CHW

    dst_path = os.path.join(dst_root, each_imgname + '.rgbchw')
    print("write:%s" % dst_path)
    img.astype(np.uint8).tofile(dst_path)

print('finish')
执行python3 prepare_calibration_data.py即可:
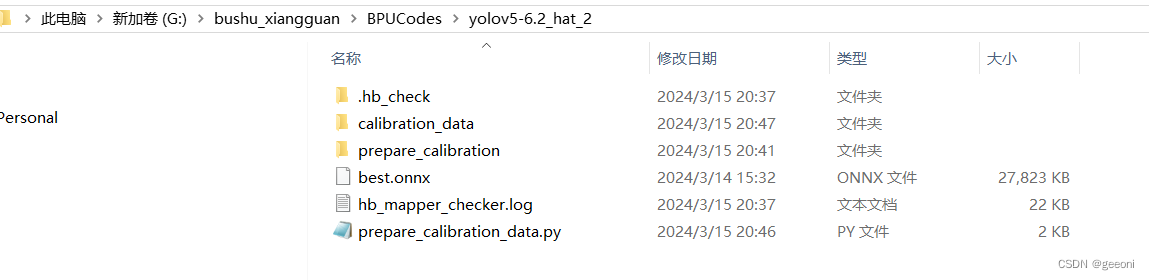
此时目录结构如下:
4、onnx转bin
转换模型需要yaml参数文件,具体含义参考https://blog.csdn.net/Zhaoxi_Li/article/details/125516265
在yolov5-6.2_hat_2文件夹下新建model_convert.yaml文件:
model_parameters:
  onnx_model: './best.onnx'
  output_model_file_prefix: 'hat_yolov5_6.2'
  march: 'bernoulli2'
input_parameters:
  input_type_train: 'rgb'
  input_layout_train: 'NCHW'
  input_type_rt: 'nv12'
  norm_type: 'data_scale'
  scale_value: 0.003921568627451
  input_layout_rt: 'NHWC'
calibration_parameters:
  cal_data_dir: './calibration_data'
  calibration_type: 'max'
  max_percentile: 0.9999
compiler_parameters:
  compile_mode: 'latency'
  optimize_level: 'O3'
  debug: False
  core_num: 2
然后执行:hb_mapper makertbin --config model_convert.yaml --model-type onnx:
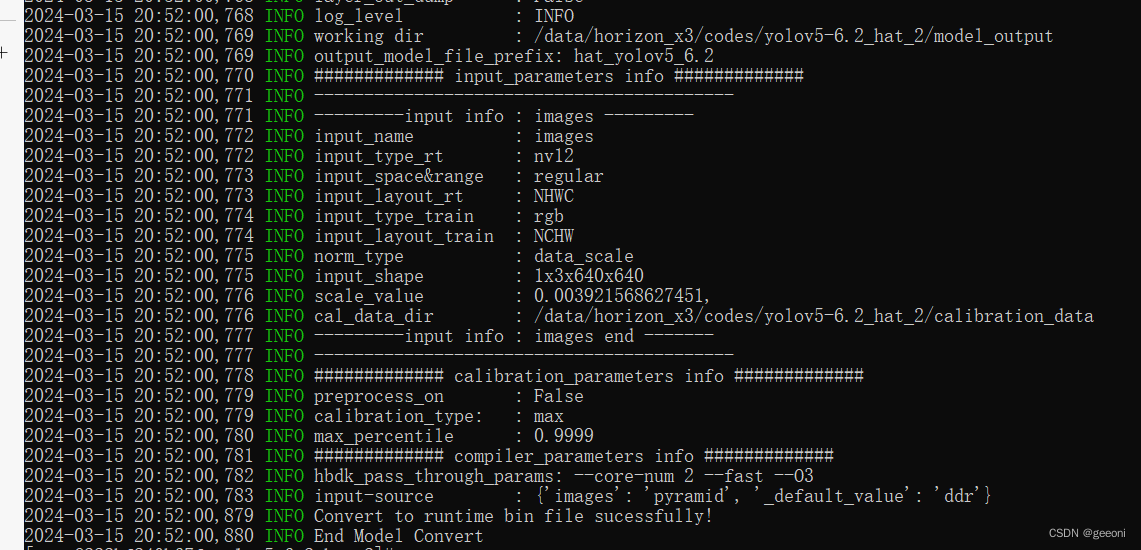
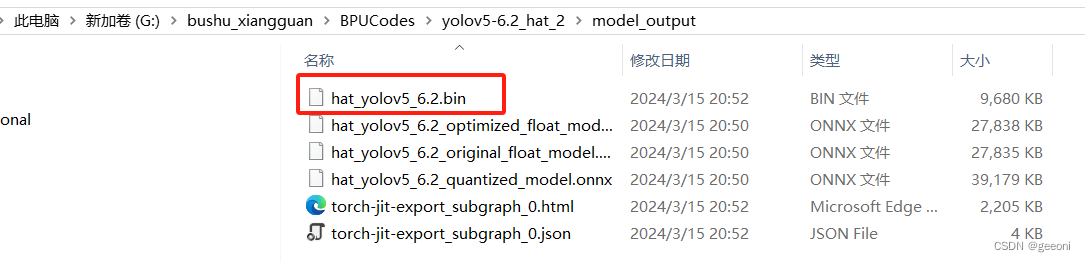
此时自动生成model_output文件夹,里面包含了bin模型:
上板视频流推理
1、图片推理
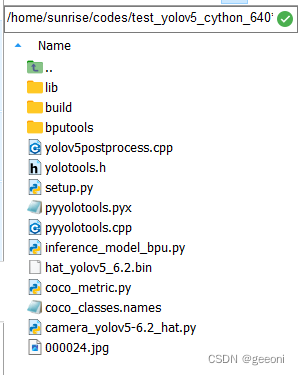
https://developer.horizon.cc/forumDetail/112555549341653639,这篇帖子介绍了cython,将上图有的文件全部拷到板端中,包括前面转成的bin文件。如下进行推理:
推理结果:

我的这个模型只训练了五轮,对图片的识别率不错,后续的视频流推理容易出错,轮次多点应该就好了。
2、视频流推理
自己新建一个py文件,代码如下:
import numpy as np
import cv2
import os
from hobot_dnn import pyeasy_dnn as dnn
from bputools.format_convert import imequalresize, bgr2nv12_opencv

import lib.pyyolotools as yolotools

def get_hw(pro):
    if pro.layout == "NCHW":
        return pro.shape[2], pro.shape[3]
    else:
        return pro.shape[1], pro.shape[2]

def format_yolov5(frame):
    row, col, _ = frame.shape
    _max = max(col, row)
    result = np.zeros((_max, _max, 3), np.uint8)
    result[0:row, 0:col] = frame
    return result

# 加载模型和设置参数
model_path = 'hat_yolov5_6.2.bin'
classes_name_path = 'coco_classes.names'
models = dnn.load(model_path)
model_h, model_w = get_hw(models[0].inputs[0].properties)
print("Model Height:", model_h, "Model Width:", model_w)

thre_confidence = 0.4
thre_score = 0.25
thre_nms = 0.45
colors = [(255, 255, 0), (0, 255, 0), (0, 255, 255), (255, 0, 0)]

# 打开摄像头
cap = cv2.VideoCapture(8)  # 使用第一个摄像头(如果有多个摄像头,可能需要更改参数)

# 主循环:读取帧,进行目标检测,显示结果
while True:
    ret, frame = cap.read()  # 读取一帧图像
    if not ret:
        print("Error: Couldn't capture frame")
        break

    inputImage = format_yolov5(frame)
    img = imequalresize(inputImage, (model_w, model_h))
    nv12 = bgr2nv12_opencv(img)

    t1 = cv2.getTickCount()
    outputs = models[0].forward(nv12)
    t2 = cv2.getTickCount()
    outputs = outputs[0].buffer
    print('Inference time: {0} ms'.format((t2 - t1) * 1000 / cv2.getTickFrequency()))

    image_width, image_height, _ = inputImage.shape
    fx, fy = image_width / model_w, image_height / model_h
    t1 = cv2.getTickCount()
    class_ids, confidences, boxes = yolotools.pypostprocess_yolov5(outputs[0][:, :, 0], fx, fy,
                                                                   thre_confidence, thre_score, thre_nms)
    t2 = cv2.getTickCount()
    print('Post-processing time: {0} ms'.format((t2 - t1) * 1000 / cv2.getTickFrequency()))

    with open(classes_name_path, "r") as f:
        class_list = [cname.strip() for cname in f.readlines()]

    for (classid, confidence, box) in zip(class_ids, confidences, boxes):
        color = colors[int(classid) % len(colors)]
        cv2.rectangle(frame, box, color, 2)
        cv2.rectangle(frame, (box[0], box[1] - 20), (box[0] + box[2], box[1]), color, -1)
        #cv2.putText(frame, str(classid), (box[0], box[1] - 10), cv2.FONT_HERSHEY_SIMPLEX, .5, (0, 0, 0))
        cv2.putText(frame, class_list[classid], (box[0], box[1] - 10), cv2.FONT_HERSHEY_SIMPLEX, .5, (0,0,0))
    cv2.imshow('frame', frame)  # 显示帧
    if cv2.waitKey(1) & 0xFF == ord('q'):  # 按下 'q' 键退出循环
        break

# 释放资源并关闭窗口
cap.release()
cv2.destroyAllWindows()
这个需要通过hdmi将开发板与显示屏连接,才能看到实时画面,大概10帧左右,模型还可以简化,15帧应该很轻松。
最终效果如本文开头所示。